How to host a website on GitHub
In this article, we’ll show you how to host a website on GitHub. GitHub allows us to publish and share a website for free on the GitHub server.
Note: As per my analysis, currently we can host/publish only HTML, CSS, and JavaScript projects.
1. What we’ll need
Before publishing a website on the GitHub server and make it live, we need a couple of things ready.
- GitHub account that we can create free of cost.
- A public repository where we push/upload our project.
- Eye-catching HTML, CSS, and JavaScript project that we’ll publish.
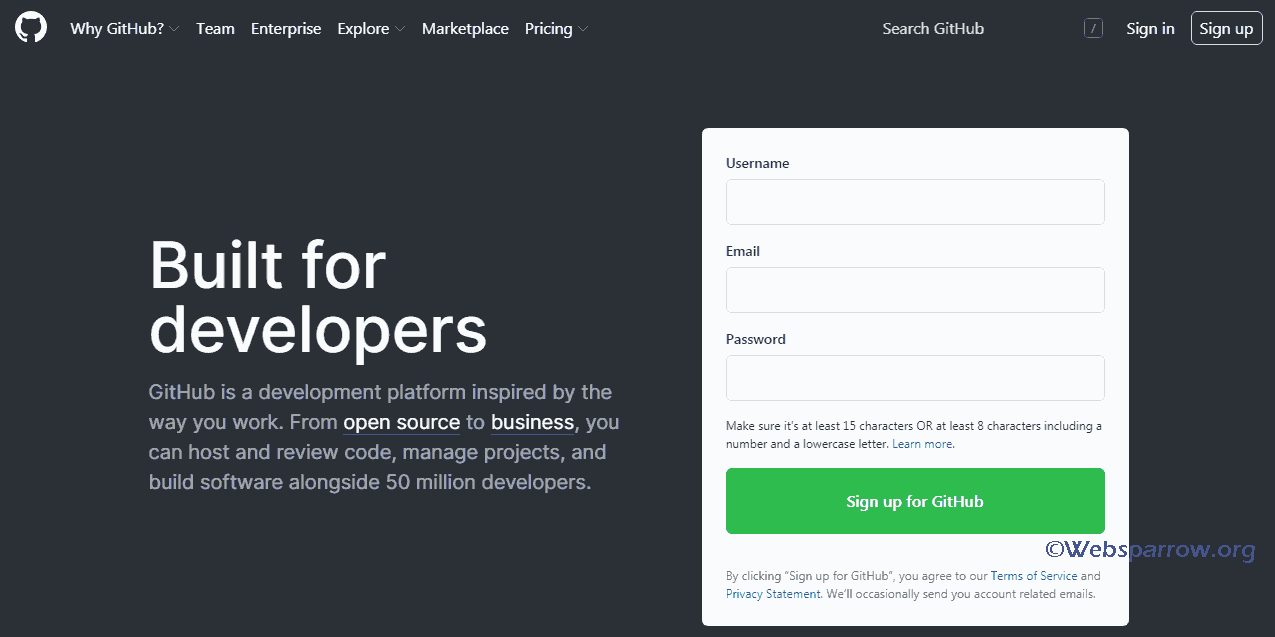
1.1 GitHub Account
GitHub allows users to create a free account on their server.
1.2 Public Repository
After creating a GitHub account, the second step is to create a public repository where we push/host a website.
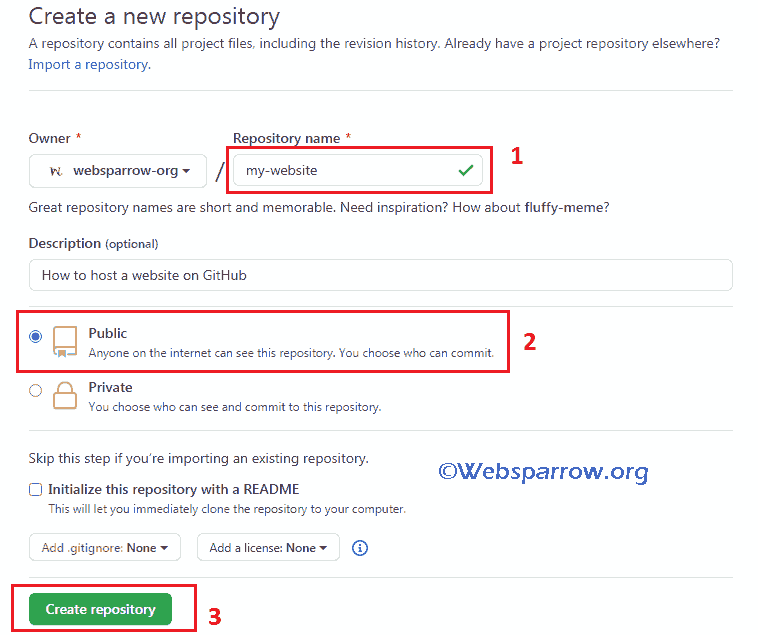
1. Login to your GitHub account and click on the button or + (plus) icon » New repository from the top right corner or directly type https://github.com/new in the web browser address bar.
2. Choose a name for the repository, add some description (not mandatory), check the Public radio button, and finally click on the Create repository button.
1.3 Create Project
Now the third and final step is to create a website that we’ll host/publish on the GitHub server. For saving some time, I have already created an HTML and CSS website, you can also download it for testing.
Download Source Code: my-website.zip
2. Pushing on GitHub Server
Once the website template created, the next step is to upload or push it on the GitHub server. We can do that in multiple ways:
2.1 GitHub GUI
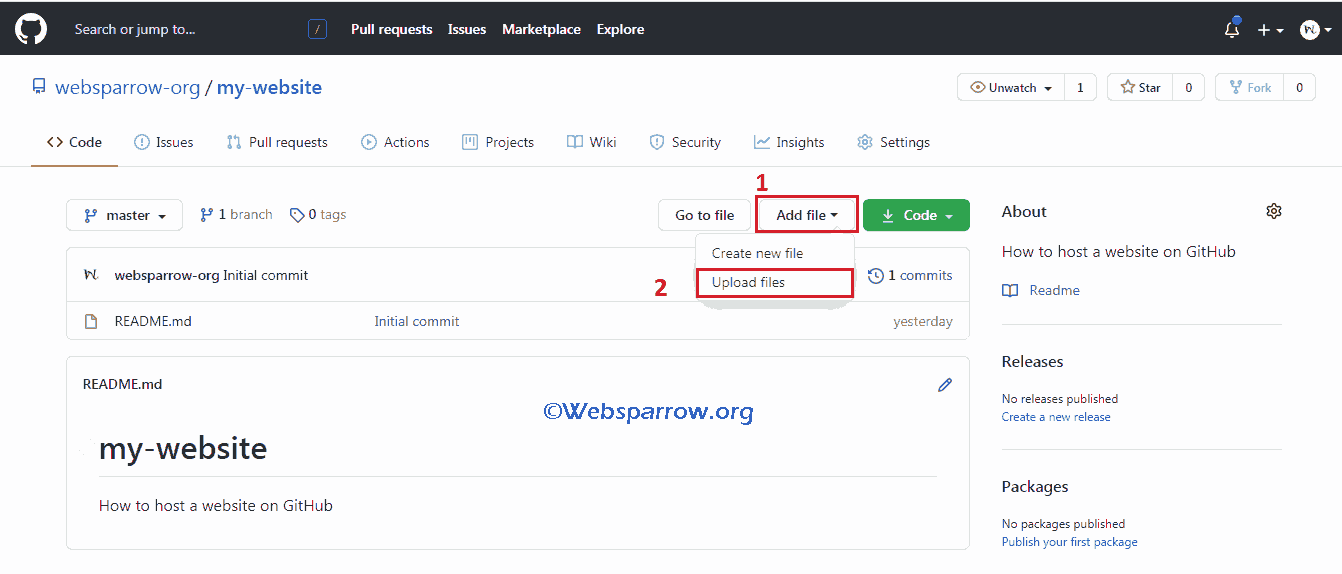
We can directly upload our website contents using GitHub graphical user interface. To do that:
1. Head to the repository, click on the Add file » Upload files, choose all the related files and folders of the project.
2.2 Git Command Line
We can also push our website/project using Git command lines. GitHub offers the distributed version control and source code management functionality of Git.
[ Git commands to be discussed in a separate article. We’ll update you very soon. ]
3. Configuration
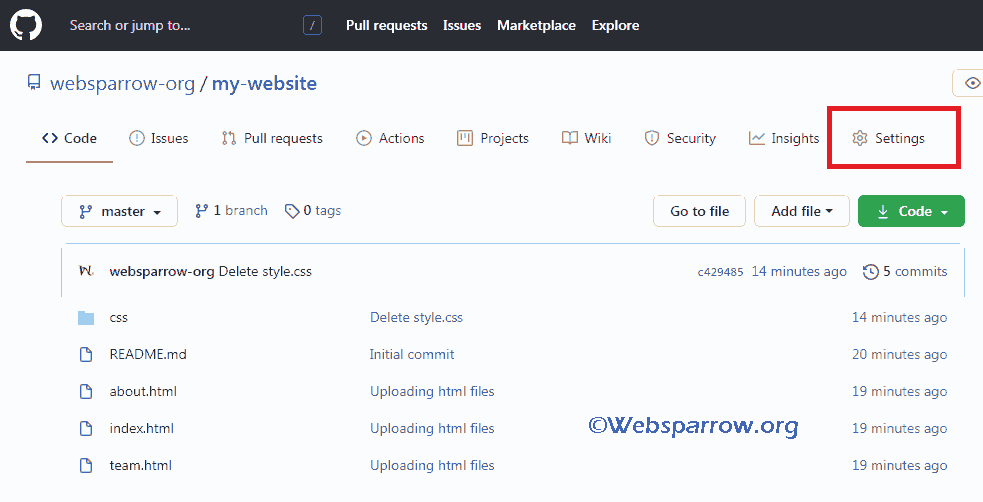
The last and final step before making the website live, we have to configure the repository by changes one setting. To do that:
1. Click on the Setting tab of the repository.
2. Scroll down to the bottom of the Setting‘s page and search for “GitHub Pages“. Select the branch name in which you have uploaded the website/project files. In our case, we have uploaded it to the master branch.
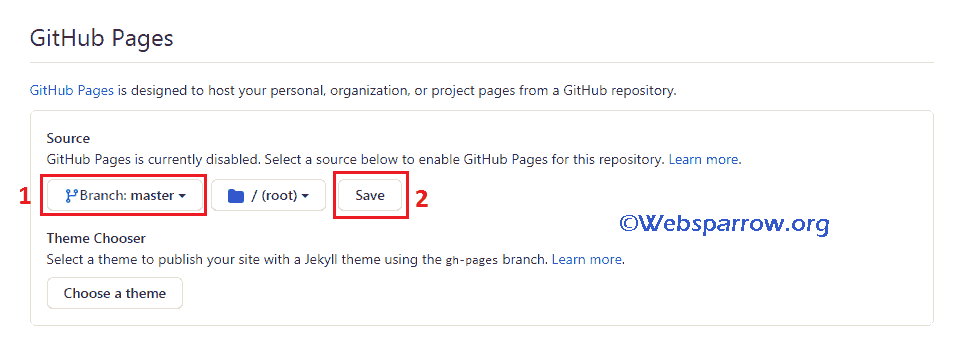
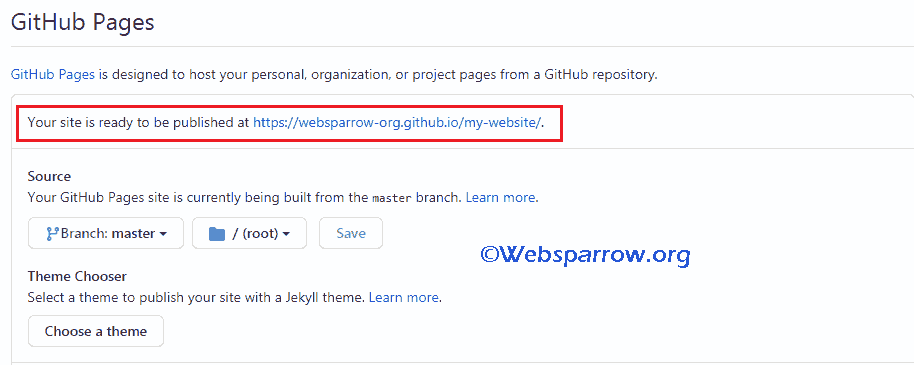
3. Hit the Save button. It will refresh the page. Go back again to “GitHub Pages” where you will find a URL of the live website.
Summary
Congratulations 🙂 You have published your website on the GitHub server successfully for free. You can check ours for reference.
URL: https://websparrow-org.github.io/my-website/