How to import Gradle project in Eclipse/STS
On this page, we will learn how to import Gradle project in Eclipse/STS IDE. Gradle is an open-source build tool similar to Apache Maven and Apache Ant. Gradle uses the Groovy-based domain-specific language (DSL) instead of the XML form used by Apache Maven for declaring the project configuration.
P.S. Tested with Spring Tool Suite 4 and Gradle 5.6.1
Steps of importing a Gradle project in your favorite IDE is almost similar to importing a Maven project. Follow the below steps to get a Gradle project in your IDE workspace:
Download simple Gradle project for the test: gradle-demo-project.zip
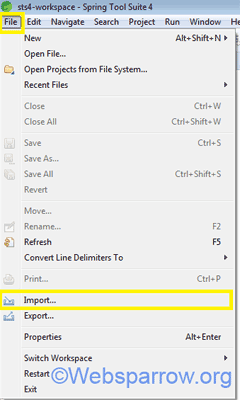
Step 1: Open your Eclipse IDE and go to File » Import.
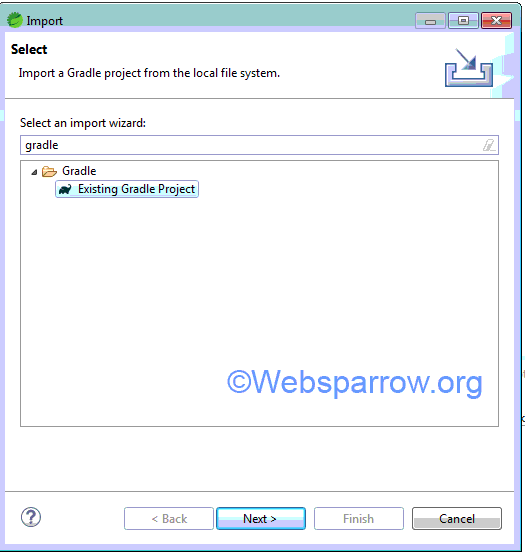
Step 2: Search for Gradle, expand the folder and go to Gradle » Existing Gradle Project » Next.
Step 3: Specify the root directory of the Gradle project to import and click on the Next button.
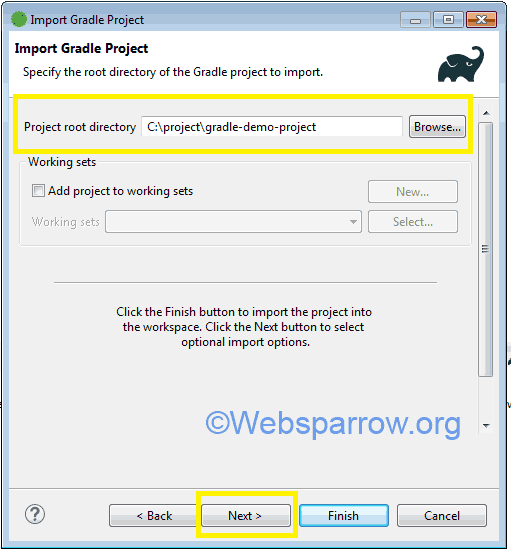
Step 4: Specify optional import options to apply when importing and interacting with the Gradle project if required after that click on the Next button.
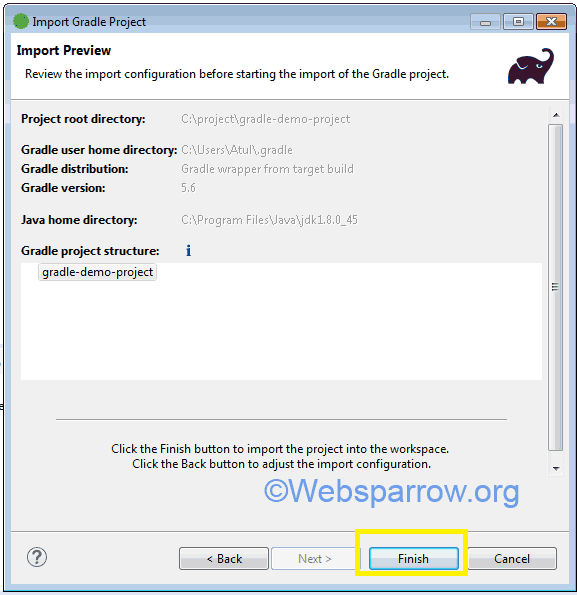
Step 5: Review the import configuration before starting the import of the Gradle project and click on the Finish button to start the import.
Step 6: Congratulation! You have successfully imported the Gradle project in your favorite IDE. Thank You 🙂
References
- How to import Maven project in Eclipse
- How to import Java Web Project in Eclipse
- Gradle Build Tool
- Gradle – Wikipedia