Installing RabbitMQ Server
This article will help you to install the RabbitMQ Server on the local machine step by step. RabbitMQ is a message-broker also know as message-queueing software that implemented the Advanced Message Queuing Protocol (AMQP).
RabbitMQ is an open-source software where queues are defined, to which application connect in order to transfer a message. It accepts and forwards messages and the RabbitMQ Server is written in the Erlang programming language.
P.S Tested with Erlang/OTP 22.3 & RabbitMQ Server 3.8.3 on Windows machine.
Now, without wasting the time, let’s jump to the actual installation of the RabbitMQ Server.
Prerequisite
The installation of the RabbitMQ server requires the following in your machine:
- Erlang setup (download link)
- RabbitMQ Server setup (download link)
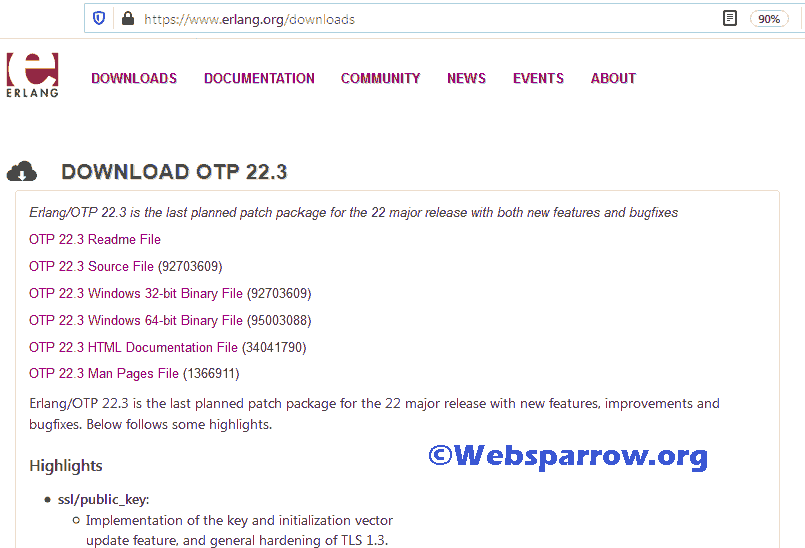
1. Erlang Installation
Since we know RabbitMQ build on the top of Erlang, so first we will install the Erlang.
Step 1.1 Download the Erlang executable file from above link based on your operating system.
Step 1.2 Execute the downloaded file. It will install the Erlang in your machine.
If you are not a Windows user, you need to install it through the package manager:
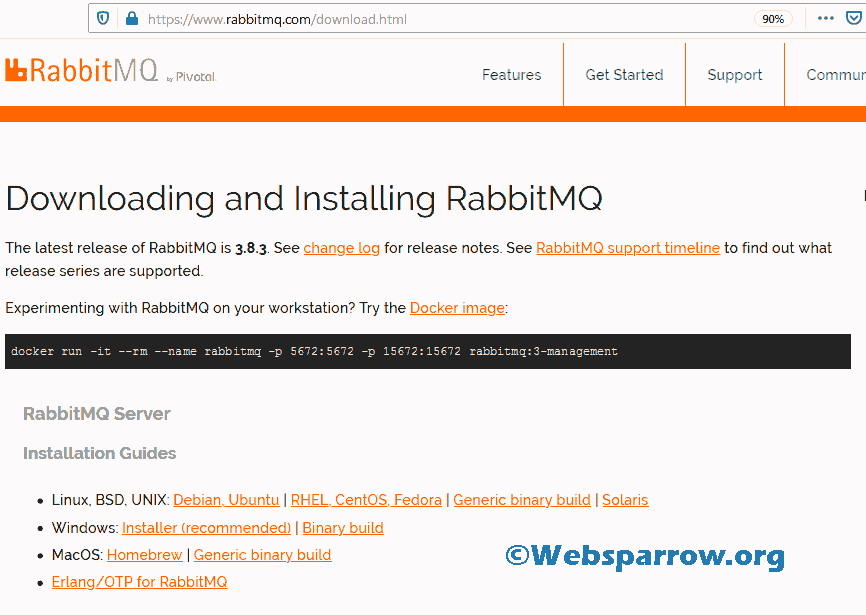
2. RabbitMQ Installation
After the successful installation of Erlang, now we can install the RabbitMQ Server.
Step 2.1 Download the RabbitMQ Server executable file from above link based on your operating system.
Step 2.2 Execute the downloaded file. It will install the RabbitMQ Server in your machine.
Step 2.3 After the installation, open Command Prompt in Administrator mode and go to the location where RabbitMQ Server installed in your machine and run the following command:
C:\Windows\system32> cd {path-to-your-rabbitmq-server}

C:\Windows\system32>cd C:\Program Files\RabbitMQ Server\rabbitmq_server-3.8.3

C:\Program Files\RabbitMQ Server\rabbitmq_server-3.8.3>cd sbin

C:\Program Files\RabbitMQ Server\rabbitmq_server-3.8.3\sbin>rabbitmq-server start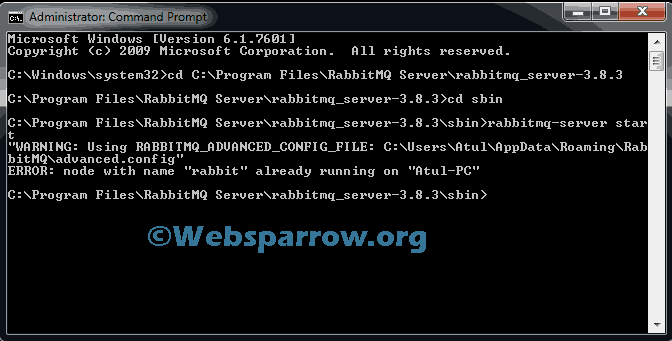
This error message shows that “RabbitMQ” already running in your machine. You have nothing worry about it.
Step 2.4 Now, we have to enable the RabbitMQ management plugin to access it using the browser. Command as follows:
rabbitmq-plugins.bat enable rabbitmq_management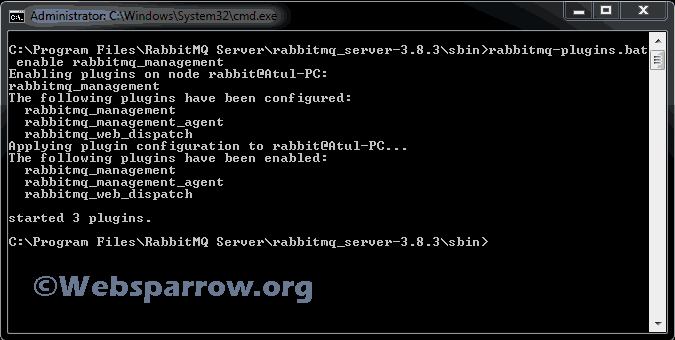
Here all the installation and setup of RabbitMQ Server and Erlang is completed.
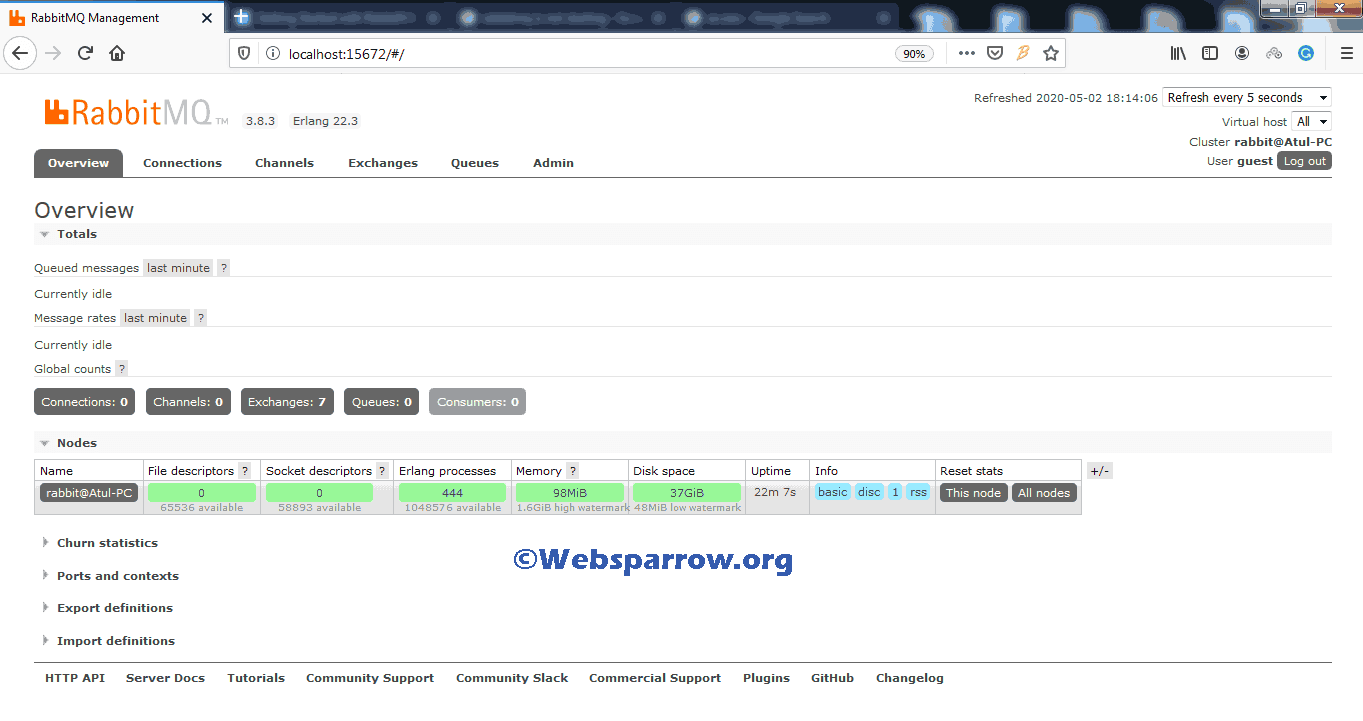
2.5 RabbitMQ Server Console
localhost:15672 is the URL to access the RabbitMQ Server console locally. It can be accessed from any web browser.
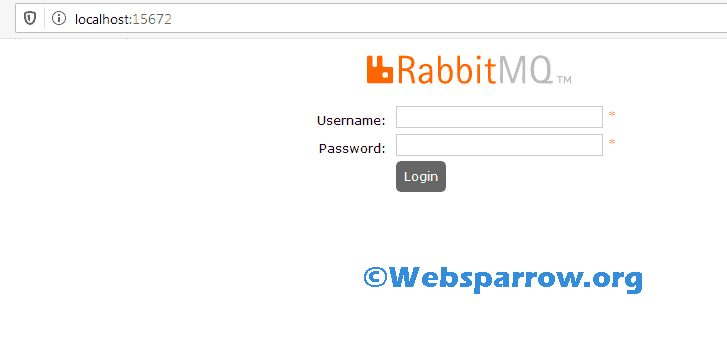
The default user name and password for RabbitMQ console is
guest.