How to create user library in Eclipse IDE
This tutorial will guide you, how to create user library and add user jars in user library in Eclipse IDE. Eclipse user library functionality helps you to save your time by selecting jar files one by one and add the jars into project build path.
Suppose, you are developing Spring core based application and you have to add mainly four to five core jars of Spring framework in your project not the rest jars. In this case you can create a user library Spring Core and only core jar files.
To create and add user library, follow the below steps.
Step 1- Open the Eclipse IDE, click on the Window » Preferences.
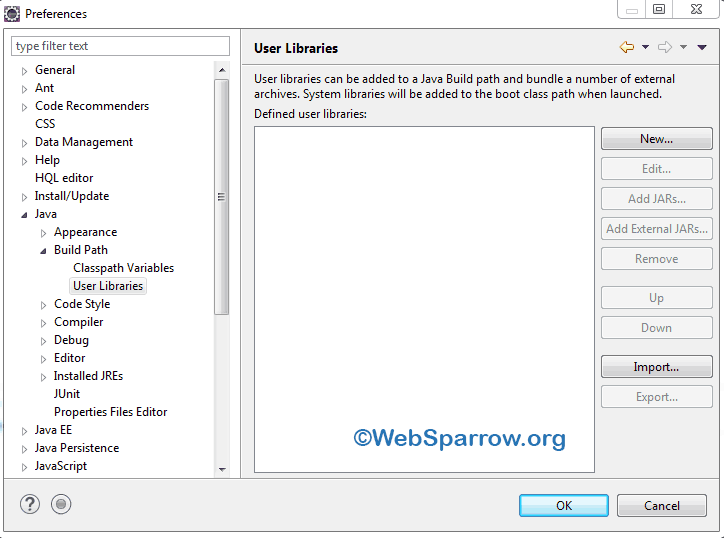
Step 2- From the Preferences window, click on the Java » Build Path » User Libraries.
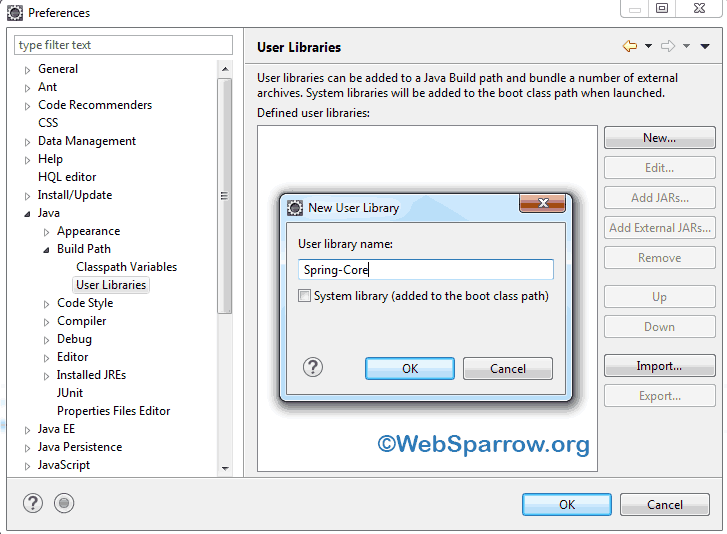
Step 3- Click on the New button and choose a suitable name for your user library, hit the OK button.
Step 4- Your user library has been created. Now add your jar files by clicking on Add External JARs… button.
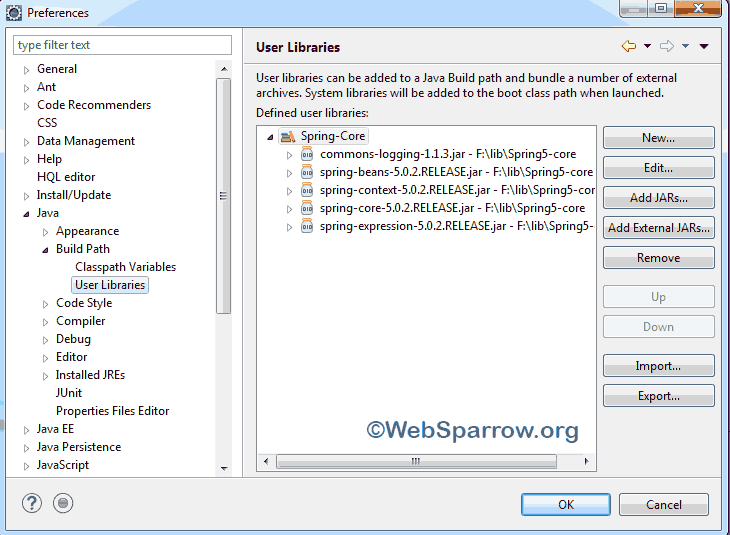
Step 5- In my case, I have added five Spring core JARs file and finally hit the OK button.
Step 6- Wowowo, Spring-Core user library having five JARs file created successfully in your Eclipse IDE.
So, whenever you are going create Spring core based application, you can simply add the Spring-Core user library. To add user library in your new project, you have to do below steps and library will be added to your project.
Step 7- Right click on your project and go to the Build Path » Configure Build Path… » Libraries tab » Add Library… » User Library » Next » Select your user library » Finish.
Thank you so much for love. Keep share.