How to install Maven on Windows
In this tutorial, we will show you to how to configure Apache Maven in your Windows machine. To make it simple I have separated all in stepwise.
To install the Maven in my machine I have used…
- JDK 8
- Apache Maven 3.5.0
- Windows 7
1- Ensure JAVA_HOME environment variable is set and points to your JDK installation.
2- Maven 3.3+ require JDK 1.7 or above to execute.
Step 1: Very first step is to download the Apache Maven zip file by clicking here and unzip the file.
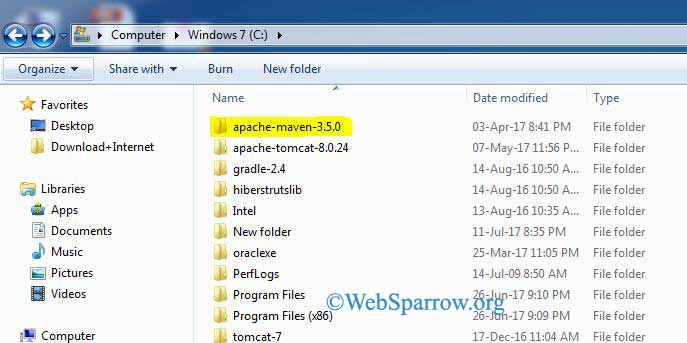
Step 2: Put the extracted file in C drive or anywhere you could wish.
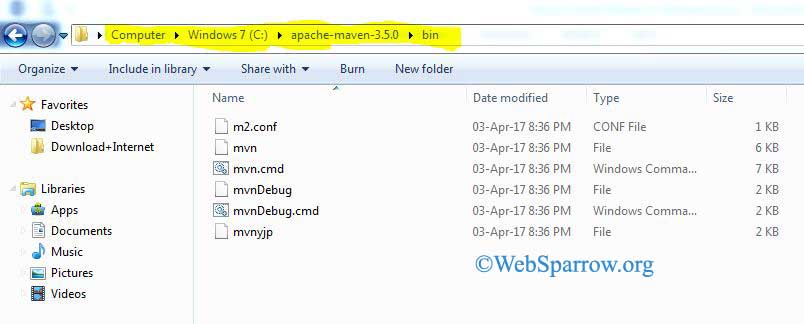
Step 3: Copy the bin directory path of apache-maven-3.5.0 (bin directory path e.g- C:\apache-maven-3.5.0\bin)
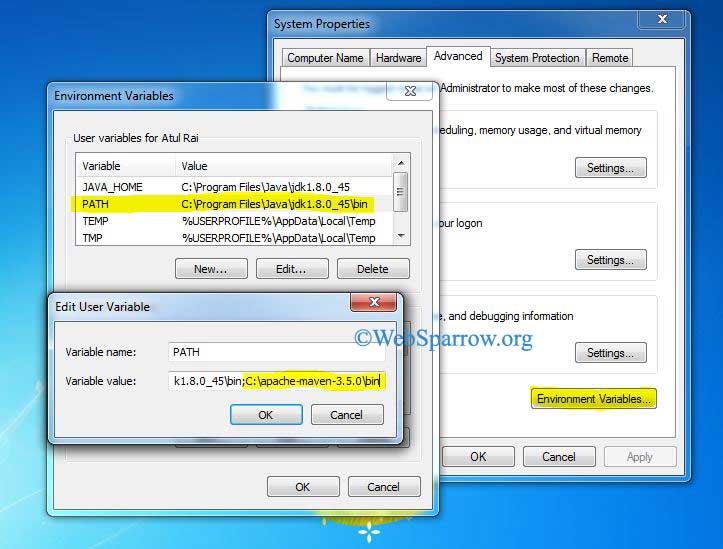
Step 4: And append it in PATH environment variable. For environment variable go to the Computer » Properties » Advance system settings » Environment Variables…
Step 5: To confirm go to the command prompt and use the command mvn -v. If maven is successfully installed in your machine you will get the below message.
C:\Users\Atul Rai>mvn -v
Apache Maven 3.5.0 (ff8f5e7444045639af65f6095c62210b5713f426; 2017-04-04T01:09:0
6+05:30)
Maven home: C:\apache-maven-3.5.0\bin\..
Java version: 1.8.0_45, vendor: Oracle Corporation
Java home: C:\Program Files\Java\jdk1.8.0_45\jre
Default locale: en_US, platform encoding: Cp1252
OS name: "windows 7", version: "6.1", arch: "amd64", family: "windows"