Spring Boot Microservices + Netflix Eureka Service Registry Example
On this page, we will show you Spring Boot Microservices + Netflix Eureka Service Registry example. Microservice architecture is commonly used architecture by the industry these days and the applications developed on microservice architecture are easy to deploy, debug, and adopting new technology.
What we’ll build
In this example, we will setup the Netflix Eureka Service Registry and create the clients that will register itself with the registry and uses it to resolve its own host.
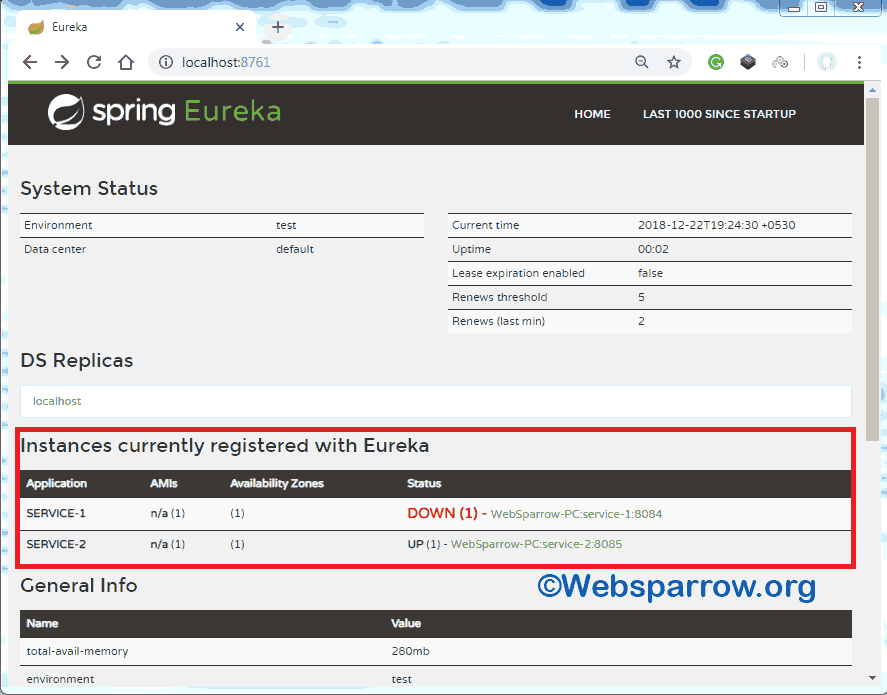
A service registry is useful because it enables client-side load-balancing and decouples service providers from consumers without the need for DNS.
Building Spring Boot Microservices
In this Spring Boot microservice application, we will create three separate Spring Boot applications:
Eureka Service Registry: This application will enable the Eureka Server by adding annotation @EnableEurekaServer and register every microservice.
Service 1: This service will generate the simple greeting message from service 1 and will register with the Eureka service registry by adding the annotation @EnableDiscoveryClient.
Service 2: This service will also generate the simple greeting message from service 2 and will register with the Eureka service registry.
Technologies Used
Find the list of tools/technologies used in this application.
- STS 4
- JDK 8
- Spring Boot 2.0.5.RELEASE
- Maven 3
Let’s jump to the actual implementation part of creating service registry and register service into the registry.
1- Creating Eureka Service Registry
Like most Spring Boot application. create a simple Spring Boot stater project and give some name to your project, select Spring Boot version from the dropdown list and select the Eureka Server from the dependency list.
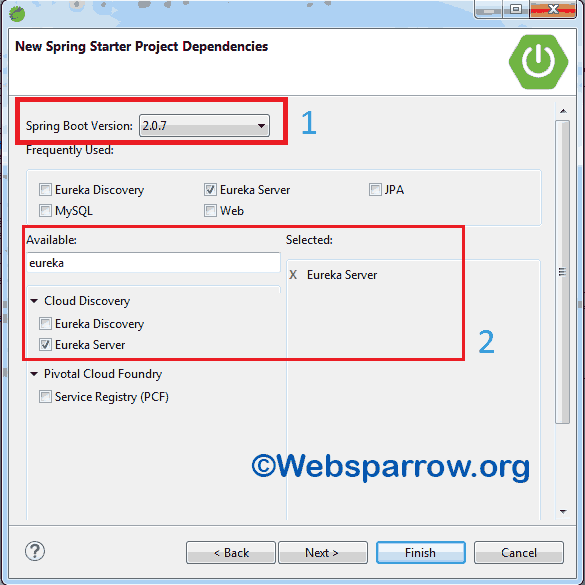
When your project is ready, open the application.properties file and modify it by adding the below code. By default, the registry will also attempt to register itself, so you’ll need to disable that, as well.
# change the Eureka Server port
server.port=8761

# disable Eureka to register itself
eureka.client.register-with-eureka=false
Now open your Spring Boot application (EurekaServiceRegistryApplication.java) file and add @EnableEurekaServer annotation on the top of @SpringBootApplication annotation. @EnableEurekaServer enable the service registry so that other applications can talk to. This is a regular Spring Boot application with one annotation added.
package org.websparrow;

import org.springframework.boot.SpringApplication;
import org.springframework.boot.autoconfigure.SpringBootApplication;
import org.springframework.cloud.netflix.eureka.server.EnableEurekaServer;

@EnableEurekaServer
@SpringBootApplication
public class EurekaServiceRegistryApplication {

	public static void main(String[] args) {
		SpringApplication.run(EurekaServiceRegistryApplication.class, args);
	}

}
To start the Eureka Server, run the project via Run As » Spring Boot App and hit this http://localhost:8761/ URL on your web browser.
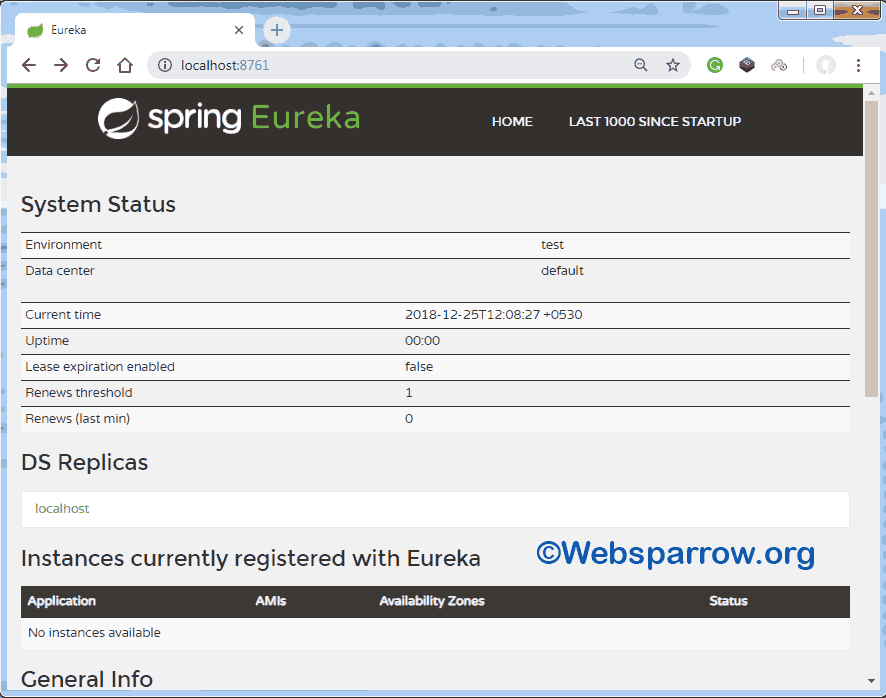
You can see that there is no instance/service currently registered/running in Eureka Server. Now jump to the creating service and register with Eureka Server section.
2- Creating Service 1
Again create a simple Spring Boot stater project and give some name to your project, select Spring Boot version from the dropdown list and select the Eureka Discovery, Web and your required dependency from the dependency list.
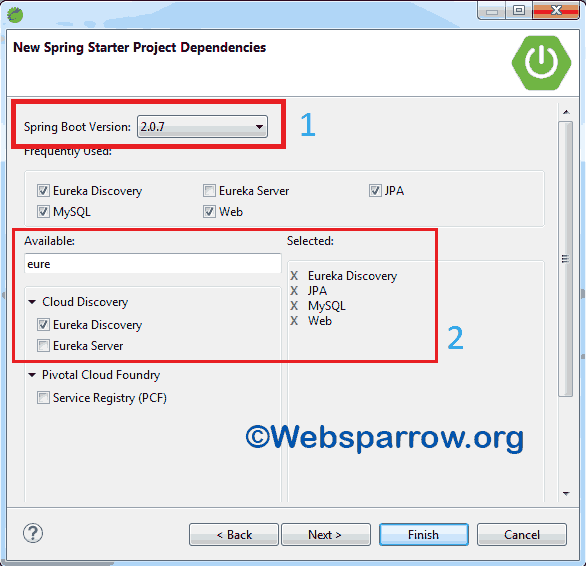
Now open the application.properties file of the service-1 project and modify it by adding below code.
# change the port of service-1
server.port=8084

# give some meaning name to your application
spring.application.name=service-1
Similarly, open the Spring Boot application (Service1Application.java) file of your project and add @EnableDiscoveryClient annotation on the top of @SpringBootApplication annotation. @EnableDiscoveryClient activates the Netflix Eureka DiscoveryClient implementation.
package org.websparrow.service1;

import org.springframework.boot.SpringApplication;
import org.springframework.boot.autoconfigure.SpringBootApplication;
import org.springframework.cloud.client.discovery.EnableDiscoveryClient;

@EnableDiscoveryClient
@SpringBootApplication
public class Service1Application {

	public static void main(String[] args) {
		SpringApplication.run(Service1Application.class, args);
	}

}
2.1- Service 1 Controller
Here is the very simple controller class of Service-1 microservice that display the greeting message.
package org.websparrow.service1.controller;

import org.springframework.web.bind.annotation.RequestMapping;
import org.springframework.web.bind.annotation.RestController;

@RestController
@RequestMapping("/service-1")
public class Service1Controller {

	@RequestMapping("/hello")
	public String hello() {

		return "Hello from Service 1";
	}

}
3- Creating Service 2
Just like Service 1, create another Spring Boot starter project i.e Service 2. I’m not gonna provide Service 2 project code here because it is just same application as described above. But don’t worry I will give you the download link of complete code at the end of the article.
Test the application
Now everything is all set, it’s time to test all applications. Follow the below steps to test your application.
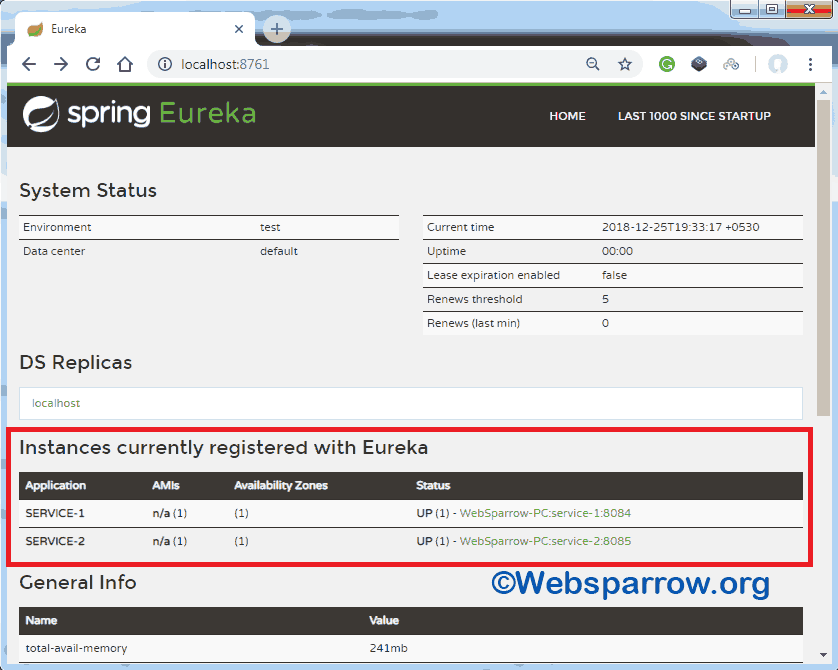
- Start your Eureka Service Registry application i.e Eureka Server first. Once it loaded hit this http://localhost:8761/ in your web browser.
- Now run your client application i.e. Service-1 and Service-1. It will take a couple of minutes to register with the server.
- Refresh the Eureka Server and you can see that both services have been registered.
References
Download Source Code: spring-boot-microservices-netflix-eureka-service-registry-example.zip