Setup a React Development Environment and Getting Started
React has gained immense popularity among developers for its efficient and flexible JavaScript library for building attractive user interfaces. To embark on your React development journey, it is essential to set up a robust development environment that streamlines your workflow and maximizes productivity.
In this blog, we will guide you through the process of setting up a React development environment step-by-step on your local machine, covering the necessary tools and configurations.
1. Install Node.js and npm
Before starting, ensure that you have Node.js installed on your machine. Node.js comes with npm (Node Package Manager) by default, which will be used to install and manage the required packages for your React project.
Visit the official Node.js website (https://nodejs.org) and download the recommended version for your operating system. Follow the installation instructions to complete the setup.
2. Create a New React Project
Once Node.js and npm are successfully installed, you can create a new React project using the Create React App (CRA) tool. Open your terminal or command prompt and run the following command:
npx create-react-app my-first-react-appThis command will generate a new React project with the name “my-first-react-app” in the current directory.
3. Navigate to the Project Directory
After the project is created, navigate to the project directory by executing the following command:
cd my-first-react-app4. Start the Development Server
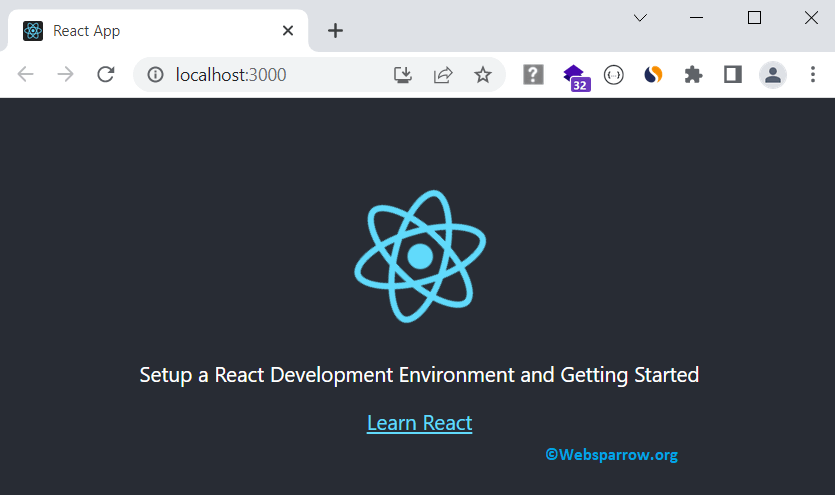
To run your React application and see the changes in real-time, start the development server with the following command:
npm startThis will launch your React application on a local development server, usually at http://localhost:3000. You can access it through your web browser.
5. Code Editor
Choosing a suitable code editor is crucial for an efficient development environment. There are various popular code editors available such as Visual Studio Code, Atom, or Sublime Text. Select the one that suits your preferences and install it on your system.
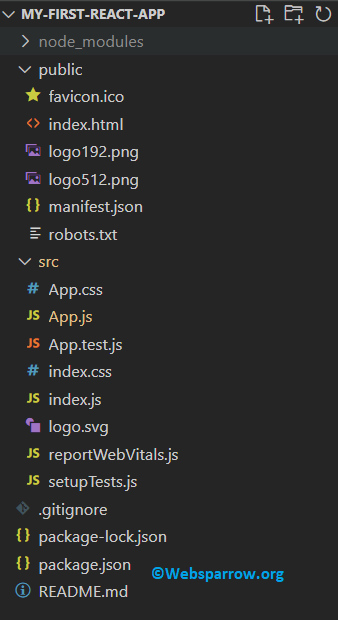
6. Project Structure
The CRA tool has already set up a basic project structure for you. The main React components are located in the src directory. You can start building your application by modifying the src/App.js file, which serves as the root component.
7. Package Management
To manage the dependencies and packages for your React project, utilize npm. You can add new packages by running the command npm install package-name in your project directory. The dependencies will be saved in the package.json file.
npm install axios8. Version Control with Git
Implementing version control in your project allows you to track changes, collaborate with others, and easily revert to previous versions if needed. Install Git on your system and initialize a new Git repository by executing git init within your project directory.
9. Additional Tools
Depending on the requirements of your project, you might need additional tools and libraries. Some common ones include:
- React Router: For implementing client-side routing in your React application.
- Redux: A predictable state container for managing complex application states.
- ESLint and Prettier: For maintaining code quality and enforcing coding standards.
- Testing libraries: Jest and React Testing Library for unit and integration testing.
Conclusion
Setting up a React development environment is an essential first step towards building powerful and scalable web applications. By following the steps outlined in this guide, you can establish a solid foundation for your React project. Remember to stay up-to-date with the latest tools and best practices in the React ecosystem to enhance your development experience further.