How to setup Google Site Kit plugin in WordPress website
On this page, we will show how to setup Google Site Kit plugin in WordPress website. Currently, Google released the developer beta version of Site Kit plugin. There are only 3-4 steps to install, activate and authenticate Site Kit plugin in a WordPress website.
Download link: You can download it on the official website of Google Site Kit or directly by clicking here.
Steps for installing Site Kit plugin
By following the below steps, we can easily install, activate and authenticate Site Kit plugin in a WordPress site.
Step 1: Download and Install
Step 1.1: Download the plugin zip file from the above-given link.
Step 1.2: Login to your WordPress site. Make sure you have the “ADMIN” role/permission.
Step 1.3: Go to the Plugins » Add New. Click on the Upload Plugin » Choose File [downloaded zip file] » Install Now.
Step 1.4: After clicking on the Install Now button, it will install the Google Site Kit plugin to your website and redirect you on the activation page.
Step 2: Activate and Setup
Step 2.1: Click on the Activate Plugin button to activate it. On the successful activation of the plugin, it will show you:

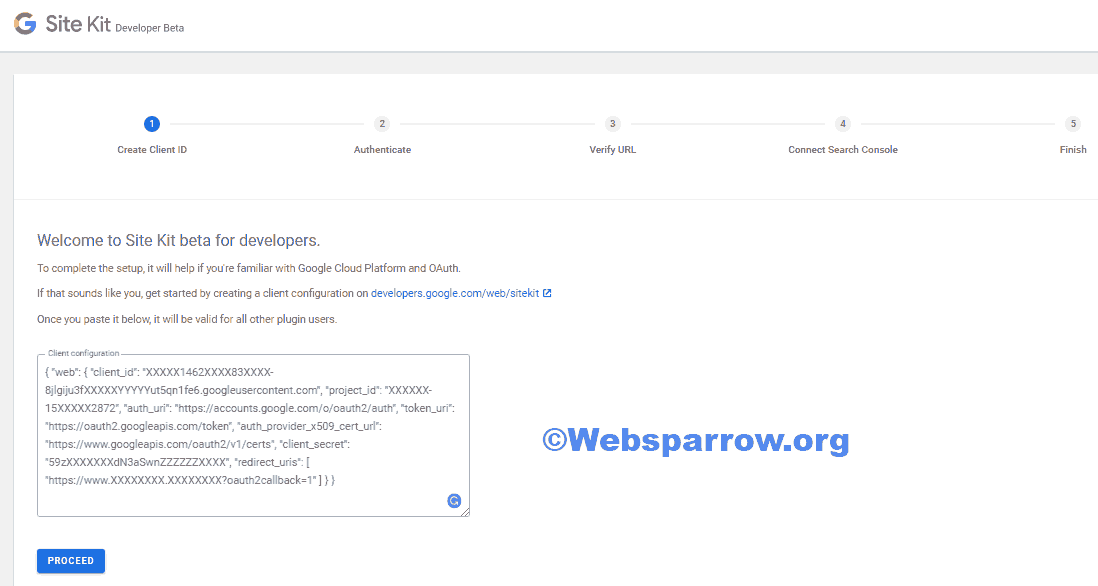
Step 2.2: To setup, click on the START SETUP button as shown in the above image. It will redirect you on the setup page where Google will ask you to create Client ID.
Step 2.3: Get the OAuth Credentials by clicking on the given link. Paste it into the box and click on the PROCEED button.

Step 3: Authenticate and Connect
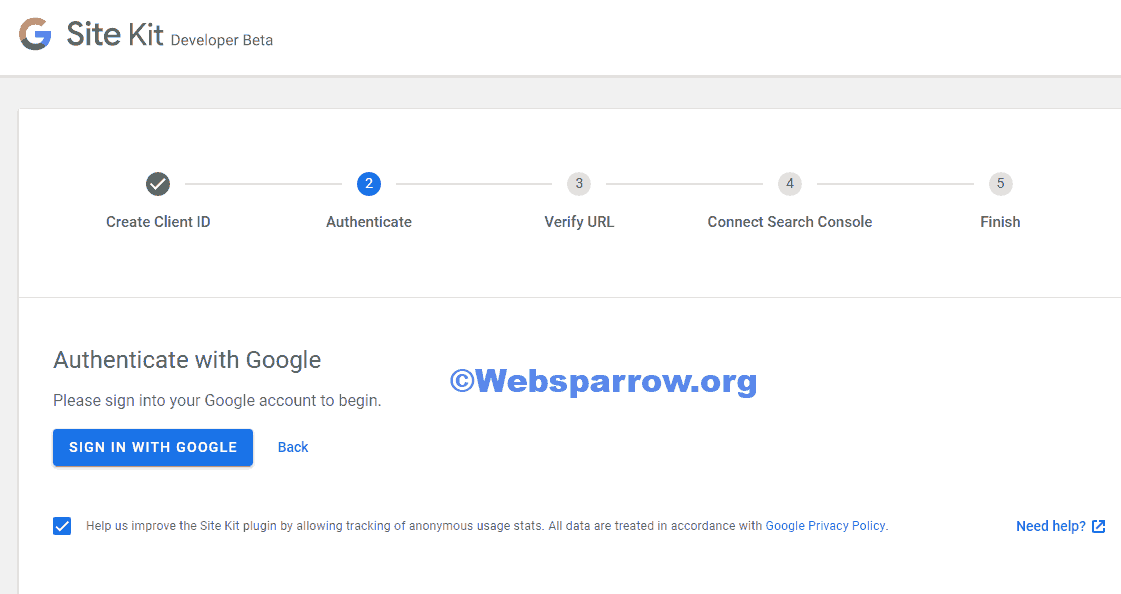
Step 3.1: Click on the SIGN IN WITH GOOGLE to authenticate your self.

Step 3.2: Allow whatever it asks, it will automatically Verify URL » Connect Search Console » Finish it.

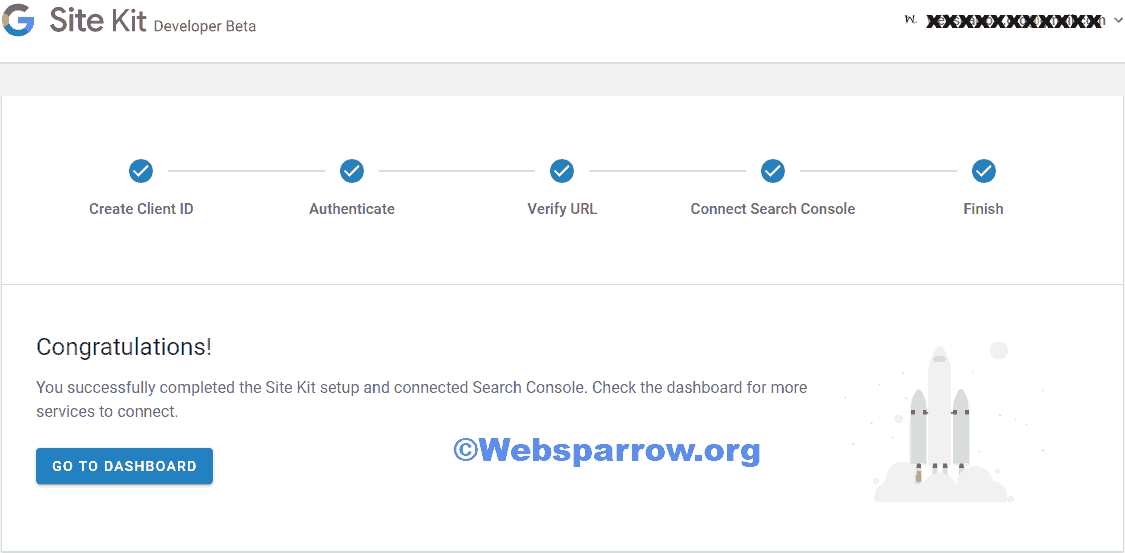
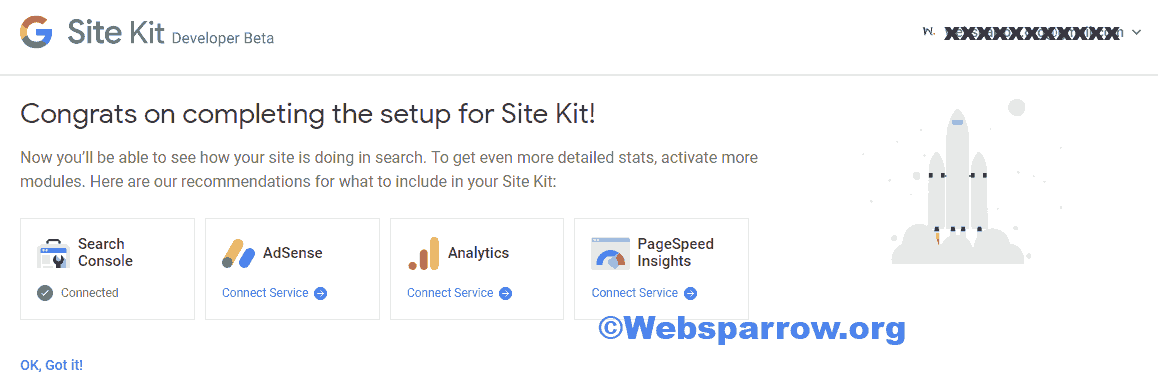
Step 3.3: Congratulations! You successfully completed the Site Kit setup and ready to rock. Click on the GO TO DASHBOARD to see the Search Console, Analytics, AdSense, and PageSpeed Insights.

To connect other Google services, click on the Connect Service and follow the instruction.