Getting Started with Git and Setup Development Environment
Git is a distributed version control system commonly used for managing and tracking changes in source code during software development. It was created by Linus Torvalds, the creator of the Linux operating system, in 2005.
Git has become the standard for version control in software development. It allows developers to collaborate, track changes, and manage code efficiently. Setting up a Git development environment on your local machine is essential for smooth and streamlined development workflows. In this blog post, we will guide you through the process of setting up a Git development environment step by step.
P.S. Tested with Git 2.39.2 version on Windows 10 machine.
Prerequisites
Before diving into the setup process, ensure that you have the following prerequisites:
- Operating System: Git works on Windows, macOS, and Linux. Make sure you have a compatible operating system installed.
- Git Installation: Download and install Git from the official website (https://git-scm.com/downloads) or use a package manager like Homebrew (for macOS) or apt-get (for Linux).
After the successful installation, you will find the Git package on your machine.
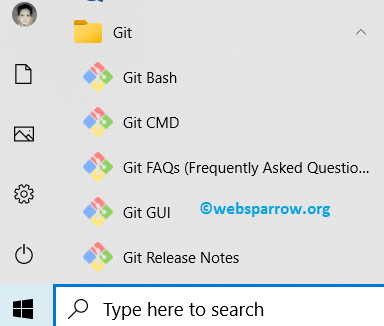
Open the Git Bash from the installed package or Command Terminal of your machine and execute the git -v command.
$ git -v
git version 2.39.2.windows.1
If you find the Git version, it means Git successfully installed your your machine and ready for use.
1. Configure Git
After successfully installing Git, the first step is to configure your identity. Open a terminal or Git Bash and run the following commands:
$ git config --global user.name "Your Name"
$ git config --global user.email "[email protected]"
Replace “Your Name” with your actual name and “[email protected]” with your email address. This information will be associated with your commits.
2. Create a New Repository
To start using Git, you need a repository. If you already have an existing repository, skip to the next step. To create a new repository, navigate to the directory where you want to store your project and run:
$ git initThis command initializes an empty Git repository in the current directory.
3. Clone an Existing Repository
If you want to work with an existing Git repository, you need to clone it. Cloning creates a local copy of the remote repository on your machine. Use the following command:
$ git clone <repository-url>Replace <repository-url> with the URL of the repository you want to clone.
4. Create and Switch Between Branches
Branches are an essential feature of Git, allowing you to work on different features or bug fixes simultaneously. To create a new branch, use the following command:
$ git branch <branch-name>Replace <branch-name> with the desired name for your new branch. To switch to a branch, use:
$ git checkout <branch-name>5. Make Changes and Commit
With Git, you can track changes to your code and commit them. After making changes to your files, you can stage them for commit using:
$ git add <file1> <file2> ...Alternatively, to stage all changes, use:
$ git add .Once your changes are staged, commit them with a descriptive message:
$ git commit -m "Your commit message"6. Push Changes to Remote Repository
To share your local commits with the remote repository, you need to push them. Use the following command:
$ git push origin <branch-name>Replace <branch-name> with the branch name you want to push. This command sends your commits to the remote repository, making them accessible to other team members.
Summary
By following the steps outlined in this blog post, you can configure Git, create and clone repositories, switch branches, make commits, and push changes to remote repositories. With a solid Git setup, you can collaborate effectively, track changes efficiently, and maintain a streamlined development workflow.